Key Features
Slipbox
Slipbox is a knowledge brain for action-driven Agents. It converts the tacit knowledge, judgment criteria, and business rules of product planners and consultants into a knowledge system that AI Agents can read and execute — enabling Agents to find the right documents, call DBs, APIs, and tools, and deliver real business results.
Slipbox is more than a place to store knowledge. It is an executable knowledge system that guides Agents on what to read, what data to retrieve, and in what order to make decisions. There is no need to build a new data lake — knowledge is managed as meta-knowledge within Agentria, and documents written by team members instantly become Agent knowledge. No ontology experts or data modelers required.
Create a Slipbox
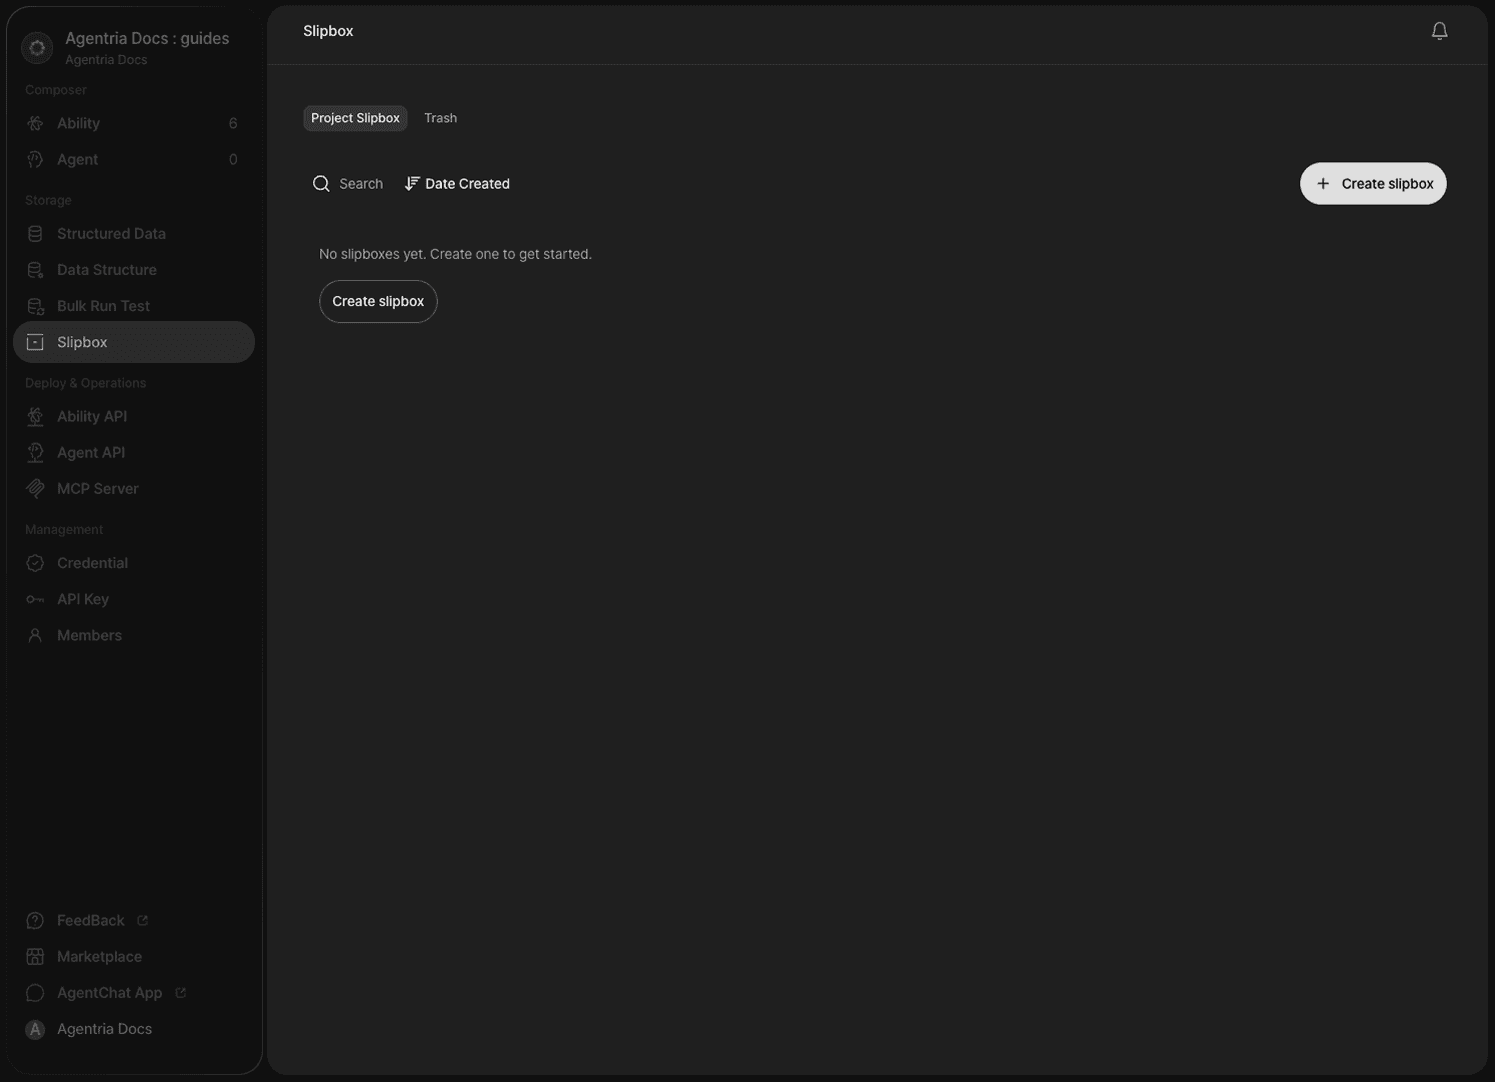
Click Slipbox in the left panel of your project to enter the Slipbox section. Click Create Slipbox to create a new one.
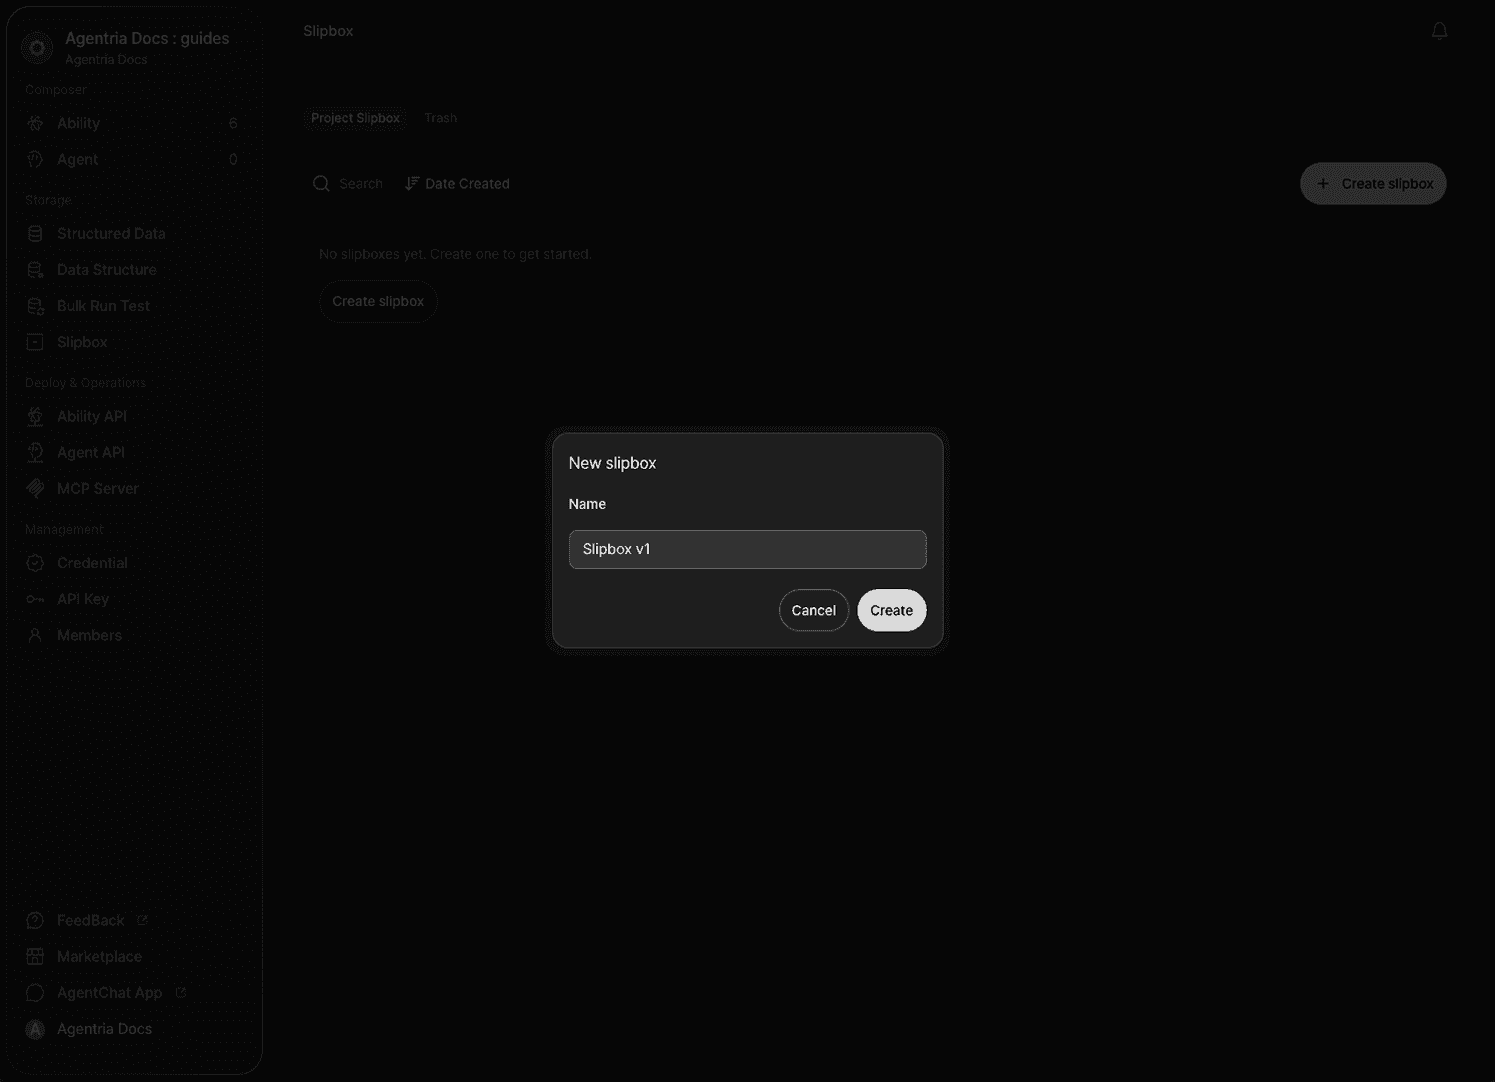
Enter a name for the Slipbox and click Create.
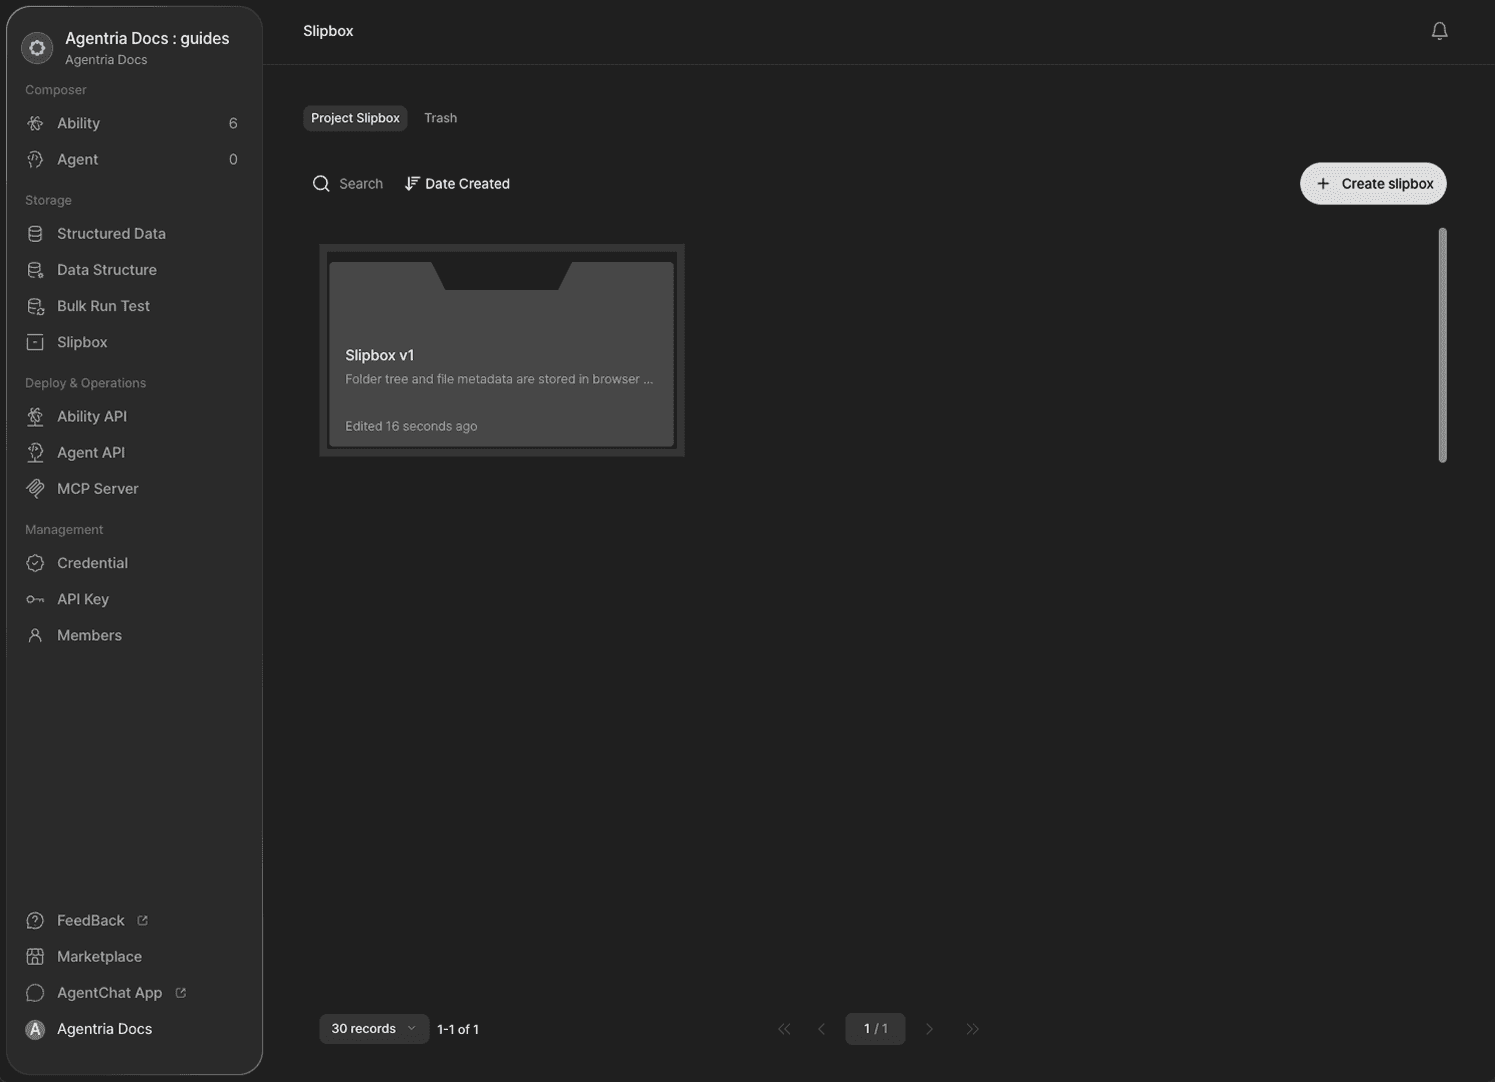
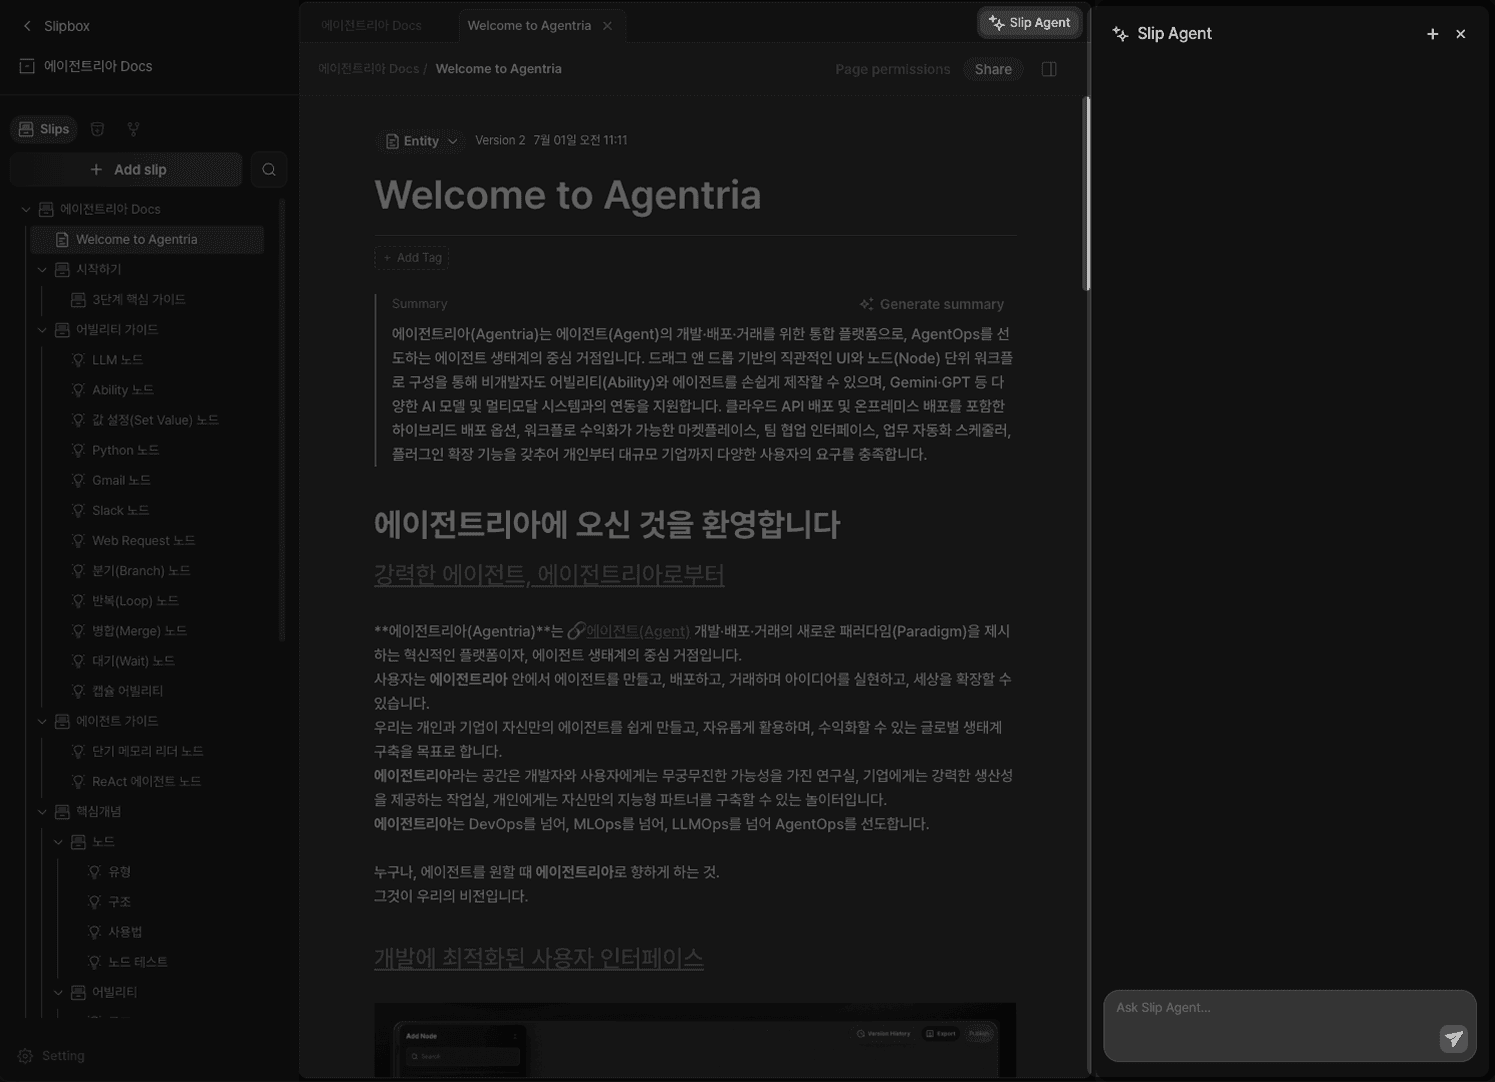
The Slipbox has been created.
Slipbox Layout
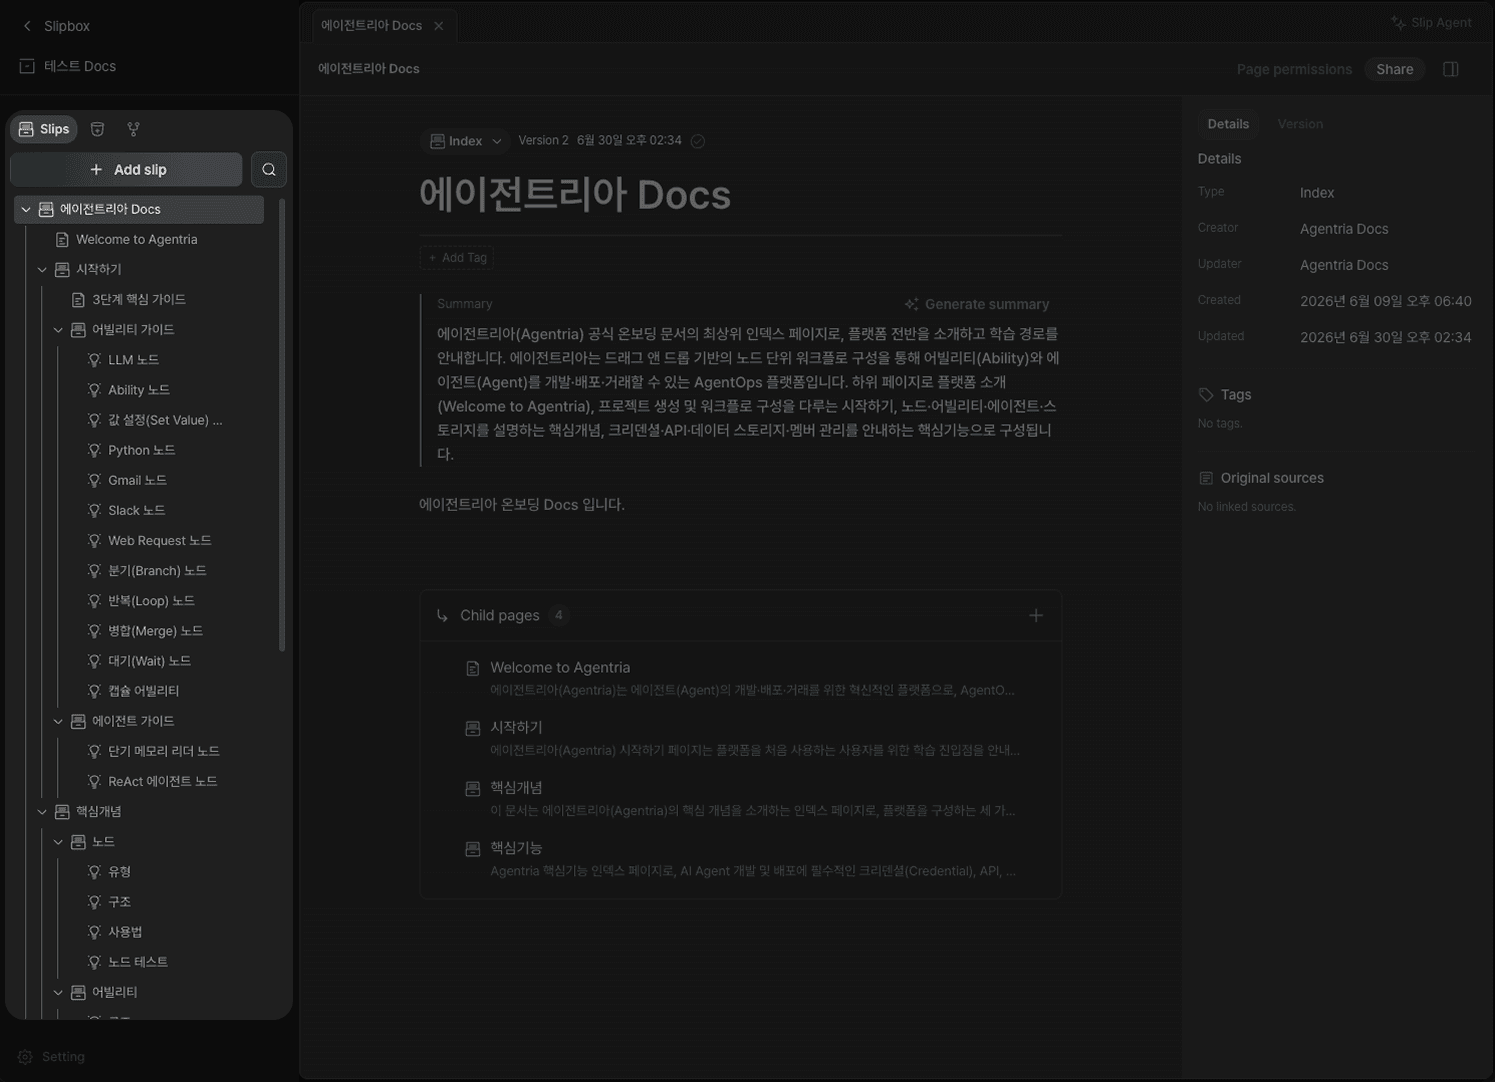
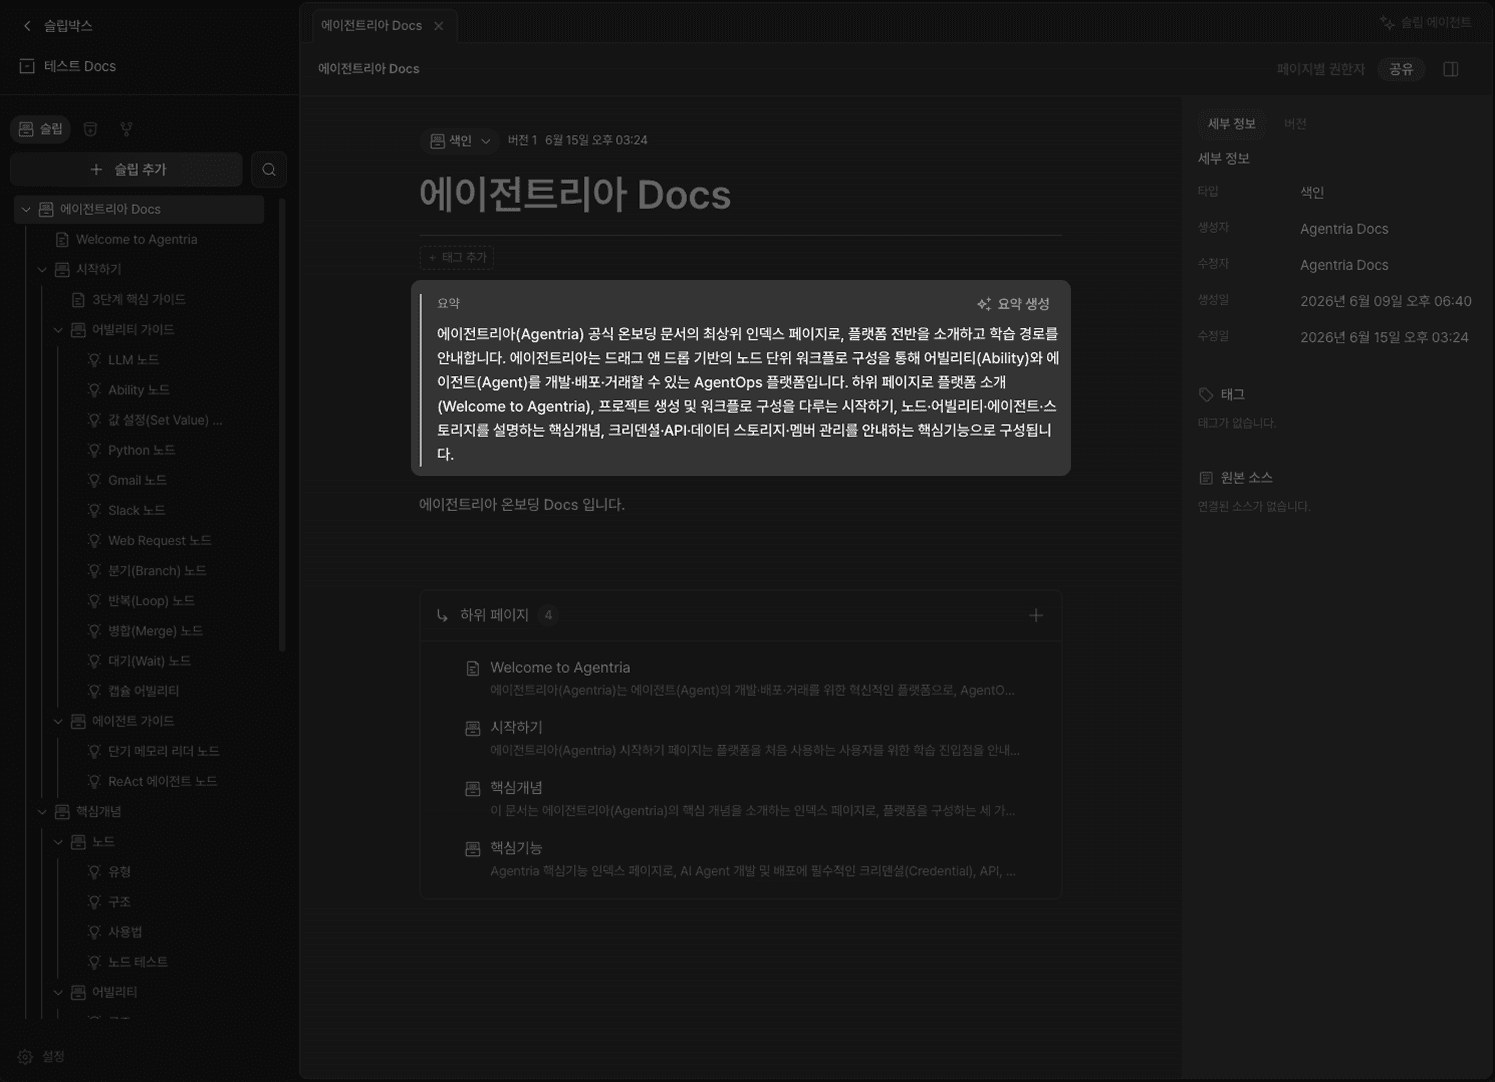
The Slipbox workspace is divided into three areas.
Left panel: Add slips and manage the table of contents
Center area: Edit area for writing slip content
Right panel: Set slip properties such as type, tags, and summary

A well-structured table of contents builds the knowledge system your Agent will reference. Below is an example Slipbox built from Agentria Docs.
Writing a Slip
Document Type
Each slip in a Slipbox has a document type suited to its purpose.

Type | Description |
|---|---|
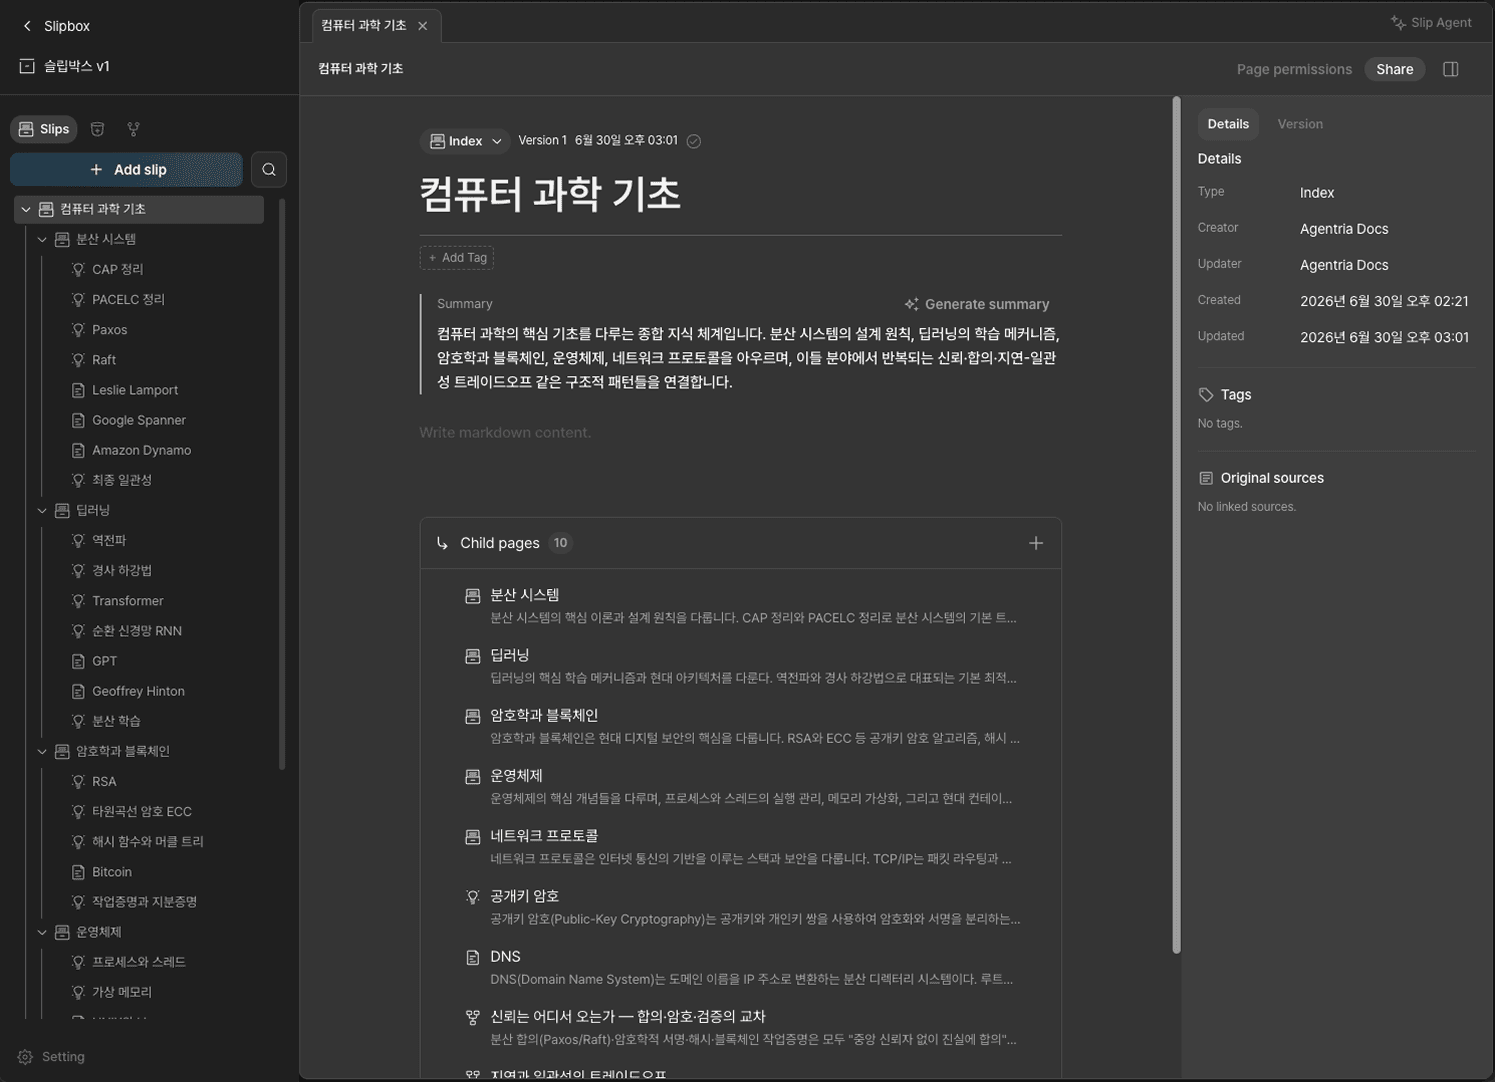
Index | A table-of-contents document that groups related documents. Supports child pages, making it ideal for managing hierarchies. |
Entity | A document describing a specific person, company, product, project, location, or procedure |
Concept | A document explaining concepts, principles, methodologies, or terminology |
Summary | A condensed write-up of a single source or file |
Synthesis | A document that compiles multiple sources to compare, judge, and draw conclusions |
Note | Unorganized memos, meeting notes, ideas, or observations |
Write Body
Write the slip content freely in the center editing area.

Tags
Use the right panel to mark the status or attributes of a slip with tags. Custom tags can be added in addition to the default tags.
Tag | Description |
|---|---|
| Marked as obsolete |
| Work in progress |
| Connected to an external system |
| Review completed |
| Contains Agent behavior guidelines |
| Replaced by another slip |
Generate Summary
Click Generate Summary to automatically create a summary based on the slip content.
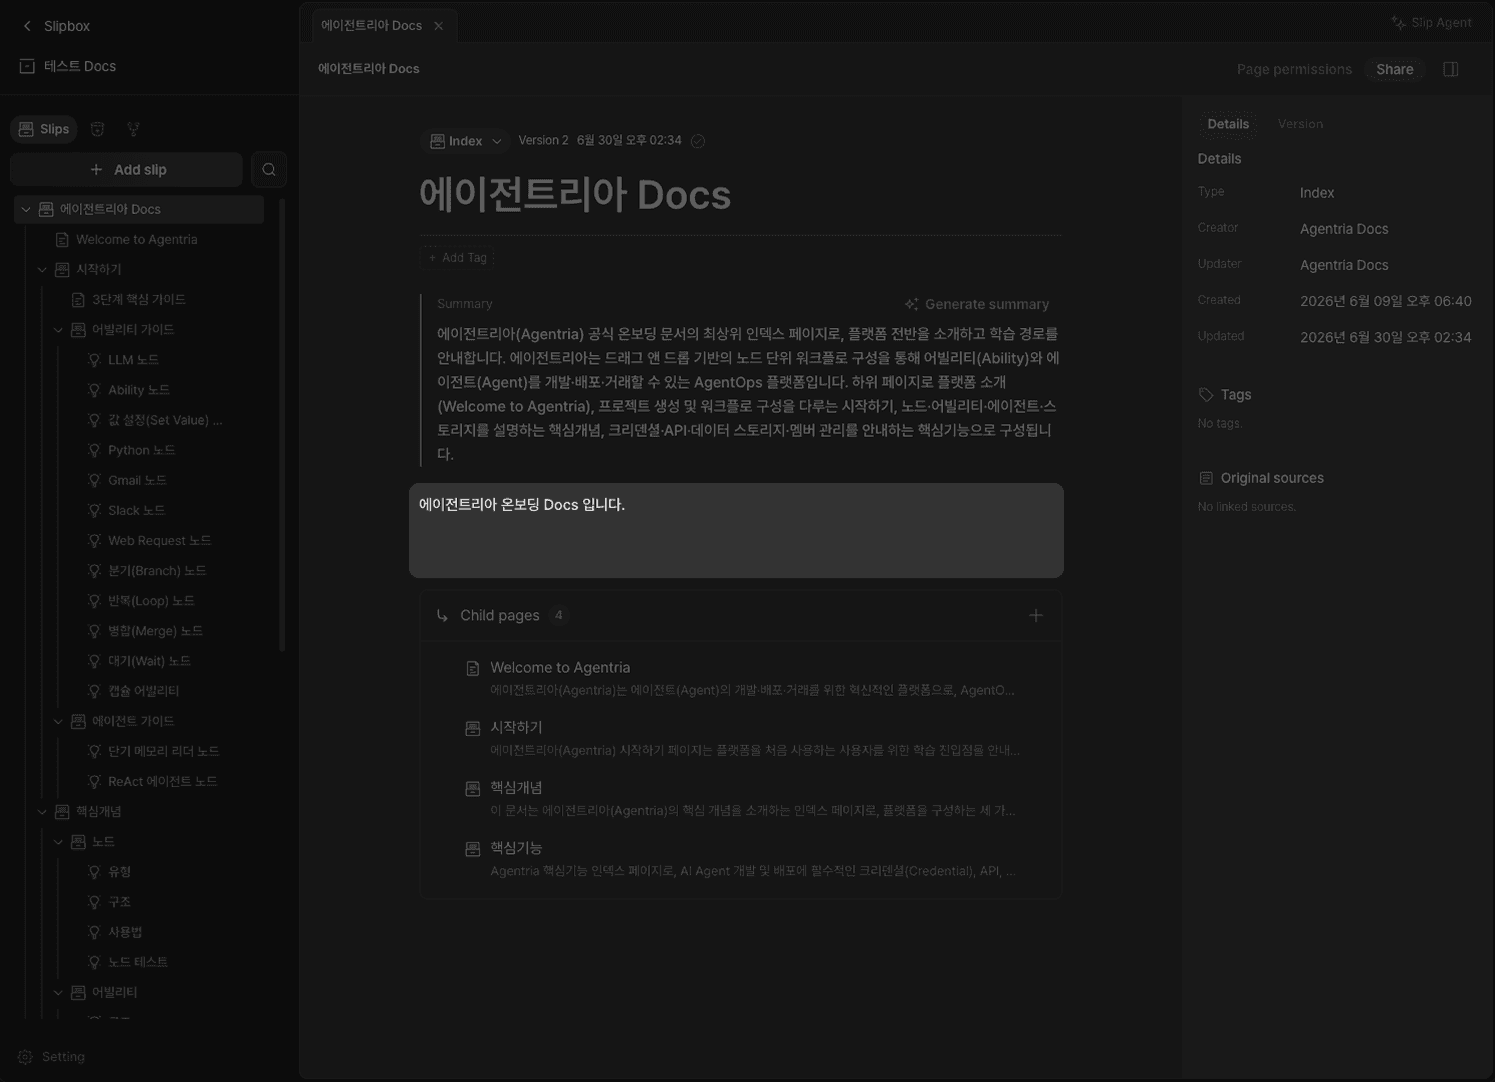
Important: The summary is the key basis used by the Slipbox Query node to locate documents. Always generate a summary after writing a slip.
For Index documents, a list of child pages is displayed. When generating a summary for an Index document, the child pages' summaries are referenced — child page summaries must be generated first. Missing child page summaries will degrade query performance for that slip.

Version Management
Go to Version in the right panel to manage document versions using check point. Versioning while building a workflow allows you to roll back to any version.

Ingest
Ingest is a feature that uploads your existing files and automatically converts them into a Slipbox structure. Click Source in the left tab, then click Upload to register documents. Use folder creation to manage multiple documents together.

Click Ingest in the top right to automatically convert uploaded documents into a Slipbox structure. Choose one of two conversion modes.

Synthesis: Generates slips reconstructed from the core content of multiple sources. Suitable for general knowledge and research.
Preserve Original: Adds the original text to the slip body without modification. Suitable for documents where accuracy is critical, such as regulations or contracts.
When ingest is complete, the table of contents is automatically structured and a summary is generated for each slip.
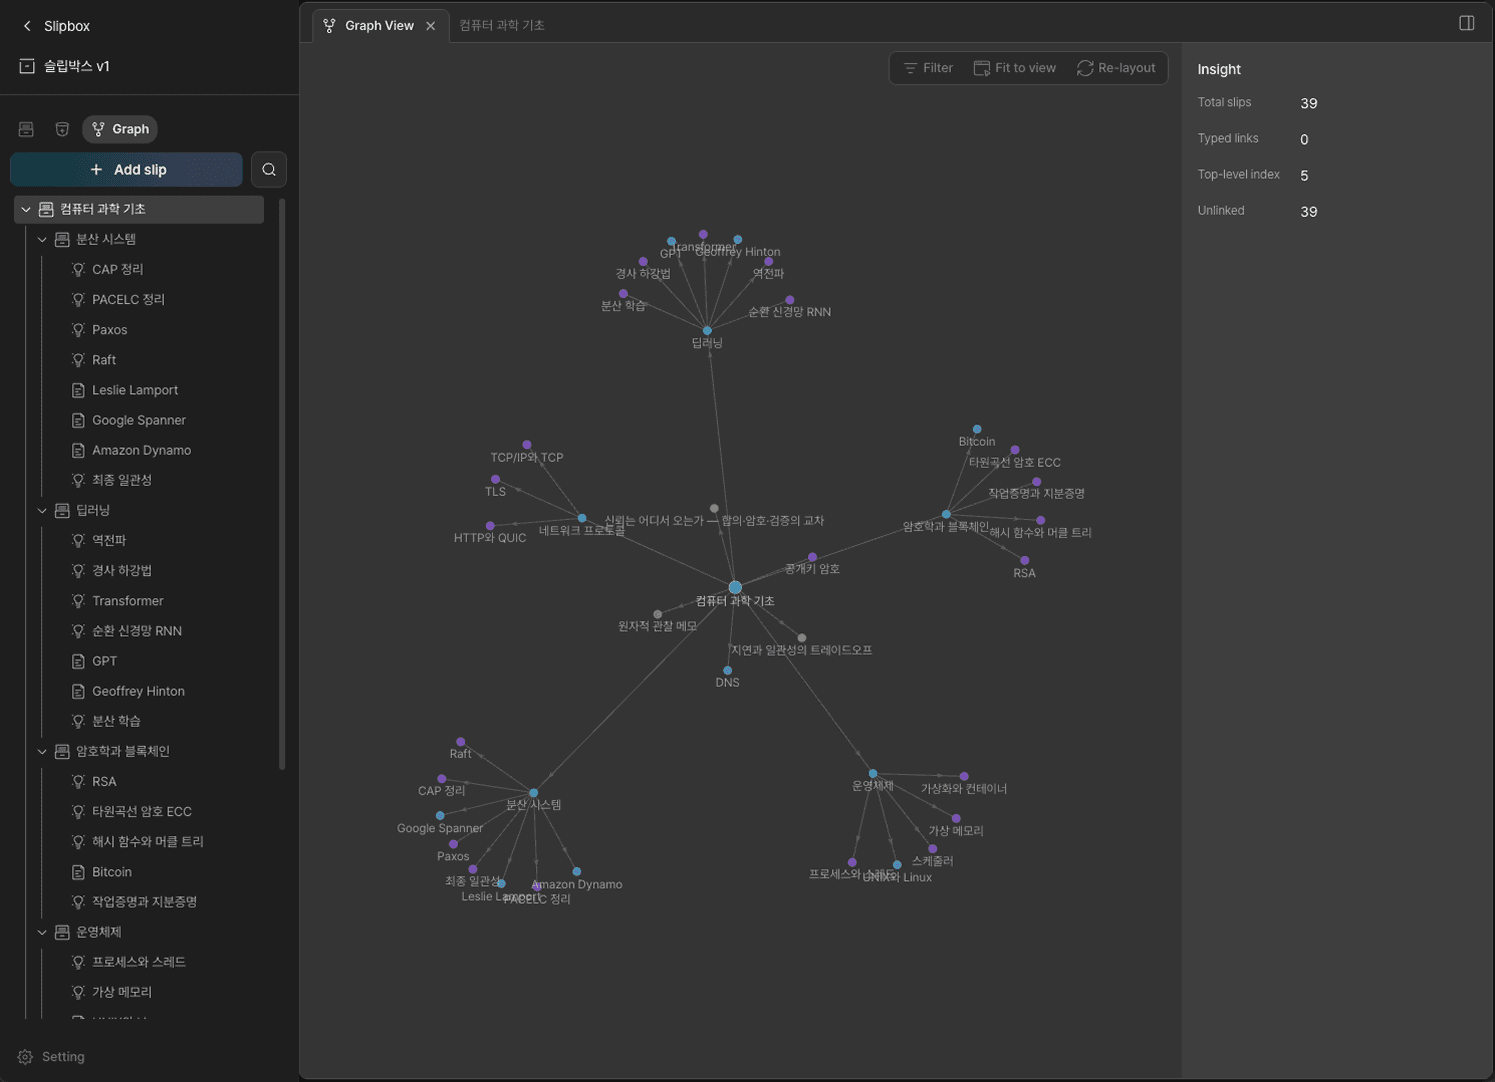
Graph View
Go to Graph in the left panel to view the entire Slipbox structure in graph form.
Slip Agent
Use the Slip Agent in the top right of the Slipbox to improve your slipbox. Send requests through a chat interface.
Select part of a slip and click Add to Chat to have the Slip Agent act on that content.

Check spelling, context, and grammar — or request suggestions to write polished slip documents.

Next Steps
Setup complete.
You can now connect the Slipbox to an Agent workflow and put it to use.