Key Concepts
Creating and Managing an Agent
An Agent is created and edited as an independent workflow unit within a project.
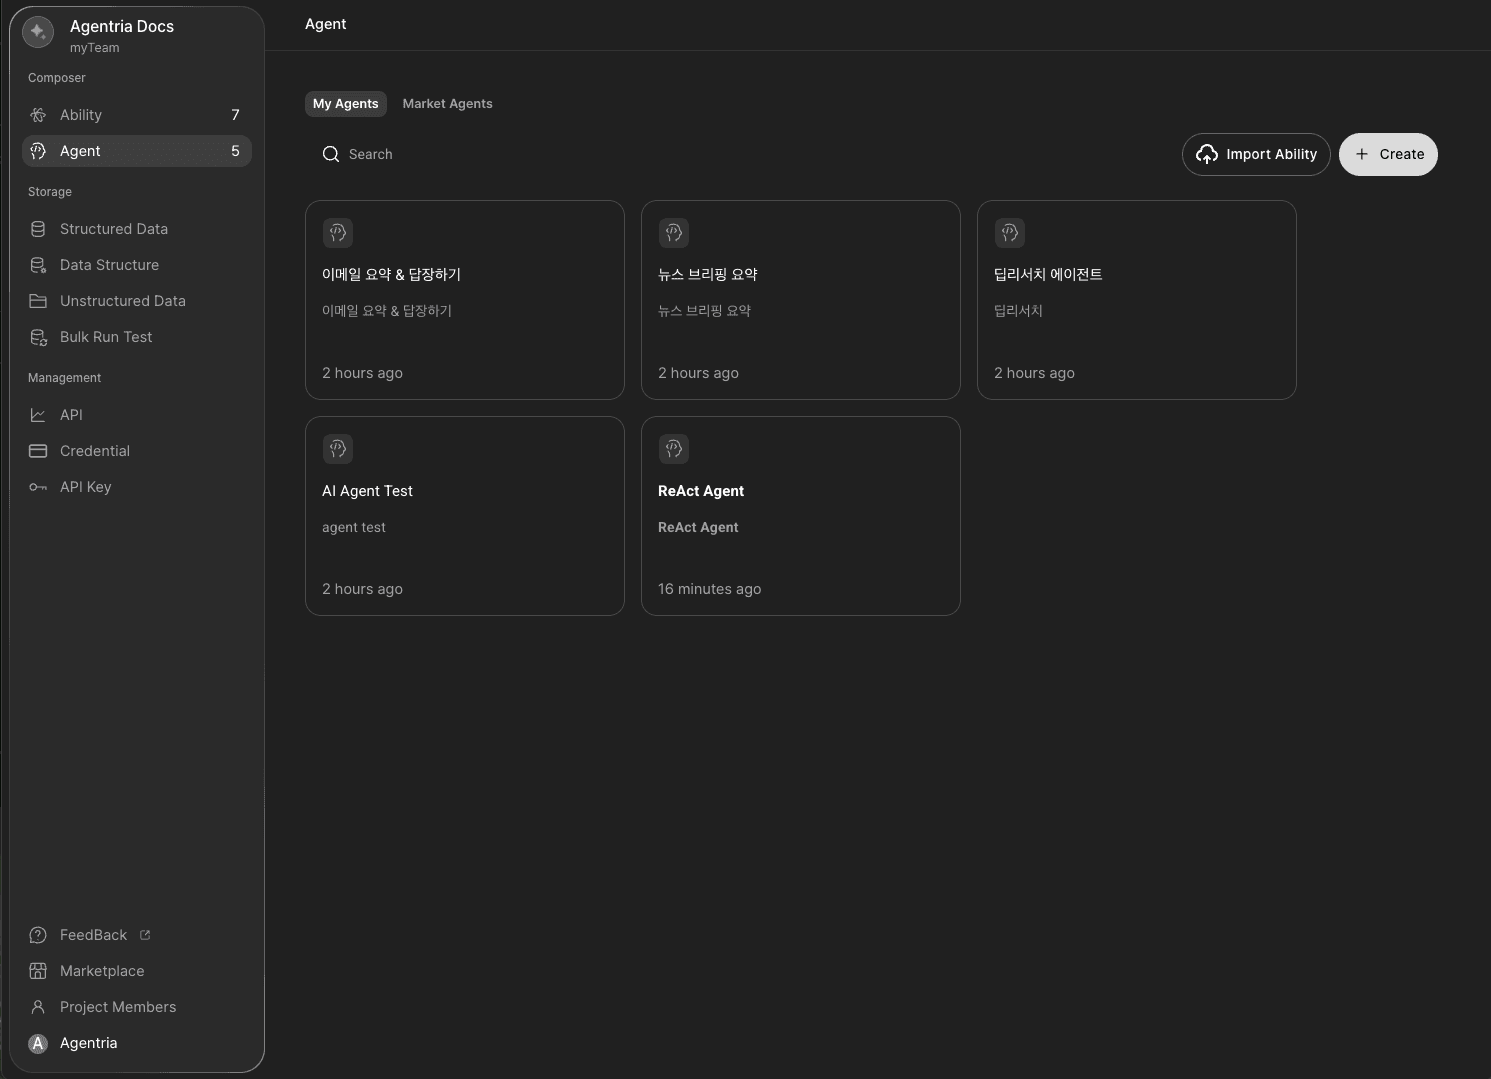
Create: Click the
+Createbutton on the project screen to create a new Agent.Manage: You can specify the agent’s name and description, check its last edited time, and assign an icon to distinguish it from others.
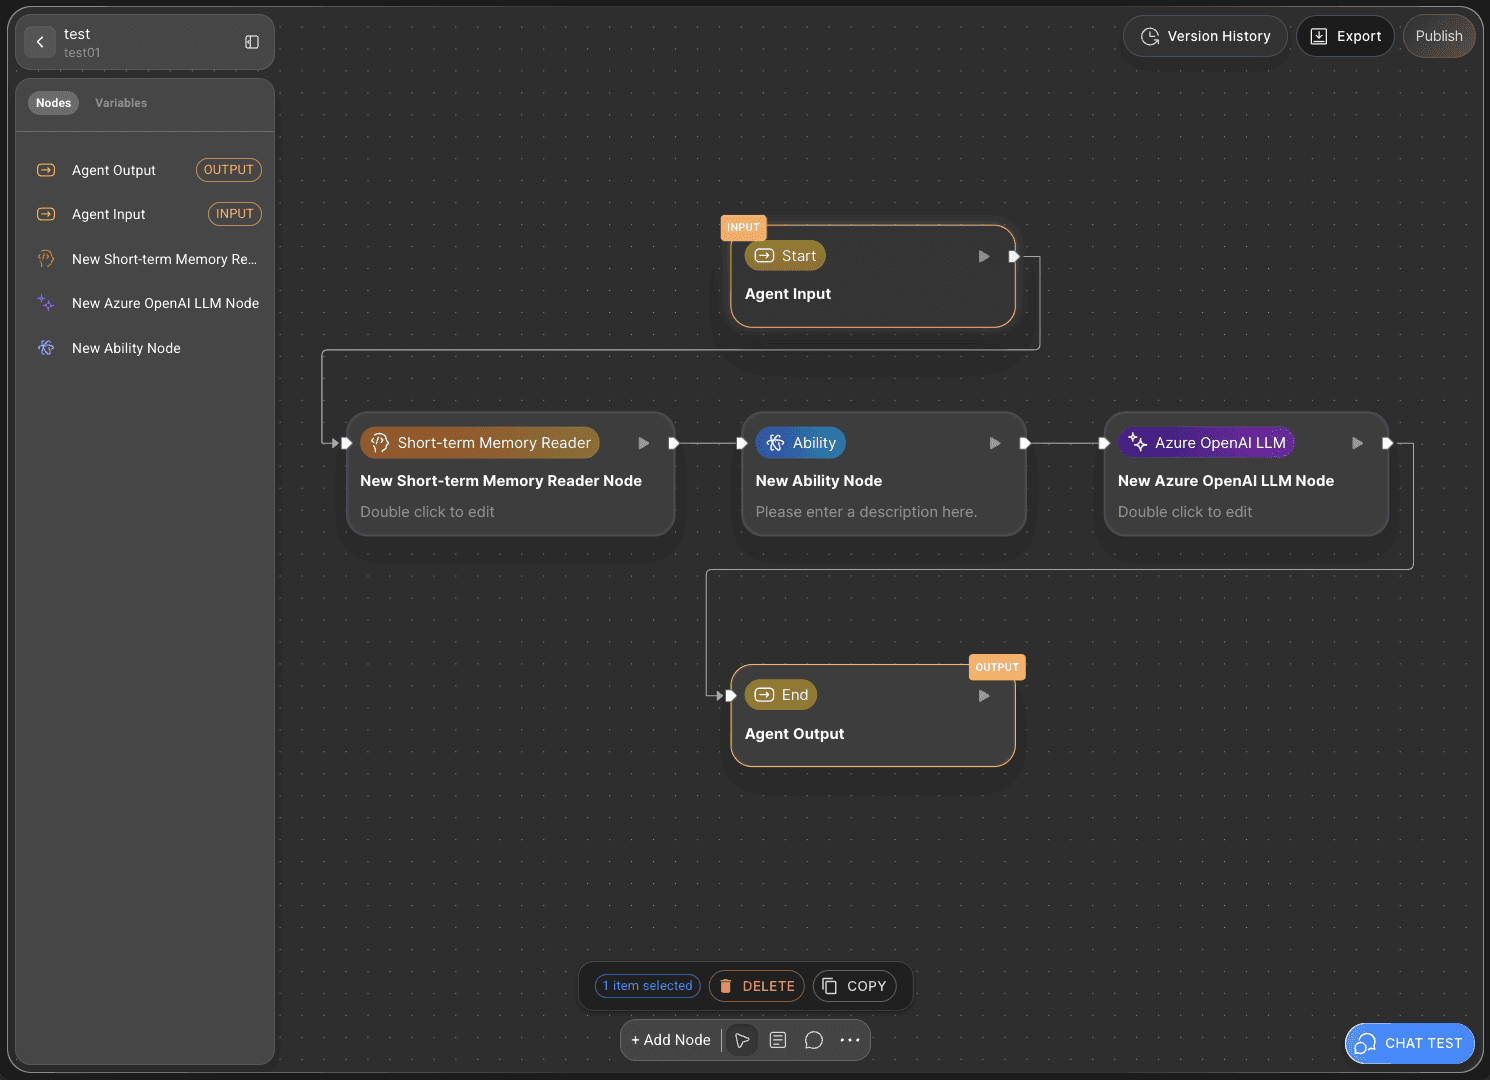
Edit: Enter the Agent to perform node-related tasks such as placement, connection, and modification.
Delete: Deleted Agents cannot be recovered.
Running an Agent
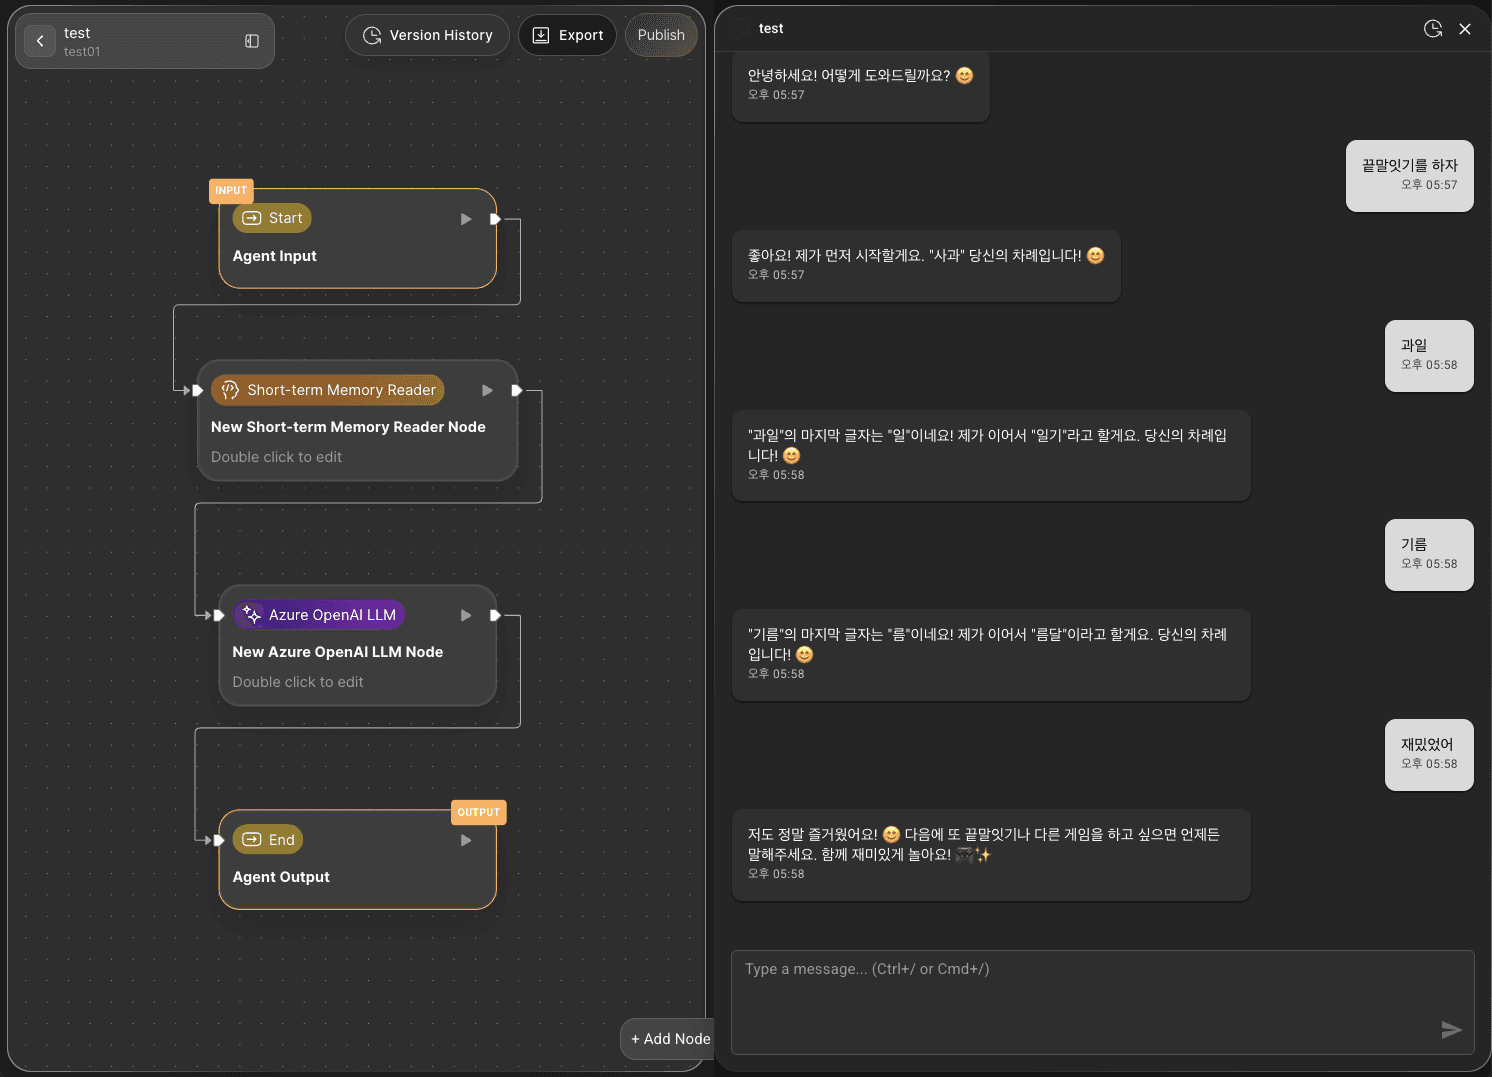
Click
CHAT TESTat the bottom-right corner of the canvas to run the entire workflow through conversation.For detailed usage instructions, refer to the 🔗Agent Test page.
Reusing an Agent
Through the Marketplace feature, you can reuse Agents built in your project across other environments or use those shared by other users.
Export: Click the
Exportbutton in the top-right corner of the canvas to download your Agent as a JSON file for backup or sharing.Import: Click the
Publishbutton in the top-right corner and selectPublish To Marketplaceto distribute your Agent. Published agents can be downloaded and reused from the Marketplace.
To reuse an Agent, you must perform version creation and API deployment.
Deploying an AI Agent
A completed Agent can be converted into an API for external system use, versioned for management, or published on the Marketplace for monetization.
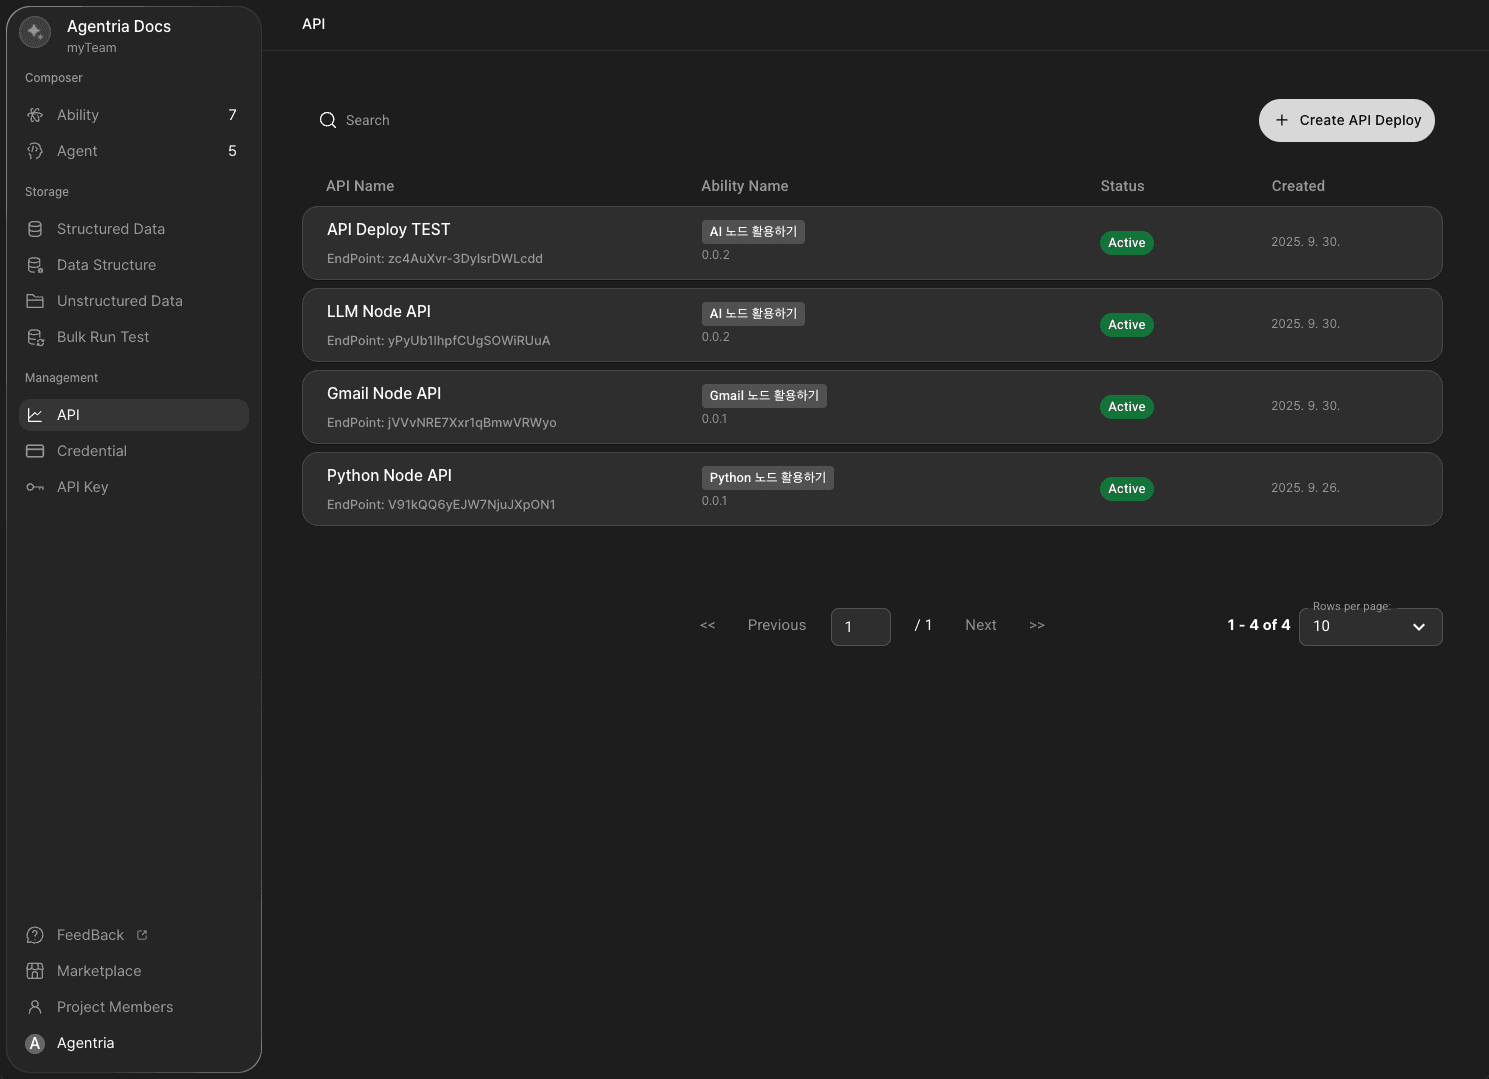
API Deployment and Version Management: After building your Agent, use the
Publishfeature to deploy it as an API and systematically manage its versions.API Release: Click
API Releaseto select an existing API to release or create a new one.Create New API: Click
Create New APIto configure the following details:API Name, Endpoint Prefix, Description: Define the API’s name, endpoint, and description.
API Token: Set a token expiration period to enhance security.
Create Version: Select
Versionto generate and manage release versions.Information Check: You can view all created API information under the Management API tab on the project screen.