Key Concepts
Adding Nodes
Agentria allows you to place nodes using an intuitive drag-and-drop method.

Inserting a node: Click the
+Add nodebutton at the bottom of the canvas, then select the desired node from the sidebar.Moving a node: Placed nodes can be freely moved around the canvas.
Handling Overlapping Nodes: When nodes overlap, the node added later will be positioned on top.
Moving Multiple Nodes: To move multiple nodes at once, create a drag box to select them before moving.
Connecting Nodes
The entire workflow must connect in the order Start node → intermediate nodes → End node to function correctly.
All Agentria nodes (except the Start node and End node) have an In-Pin and an Out-Pin for connecting nodes.
Use these connectors to create data flow between nodes.

Connection Method: Drag and drop the
Out-Pinof the preceding node onto theIn-Pinof the following node.Disconnection Method: If incorrectly connected, click the connection line to disconnect and reconnect.
Configuring Nodes
1) Edit Options
Use the edit options above the node to perform basic management tasks such as setting Input / Output, duplicating, modifying, or deleting.
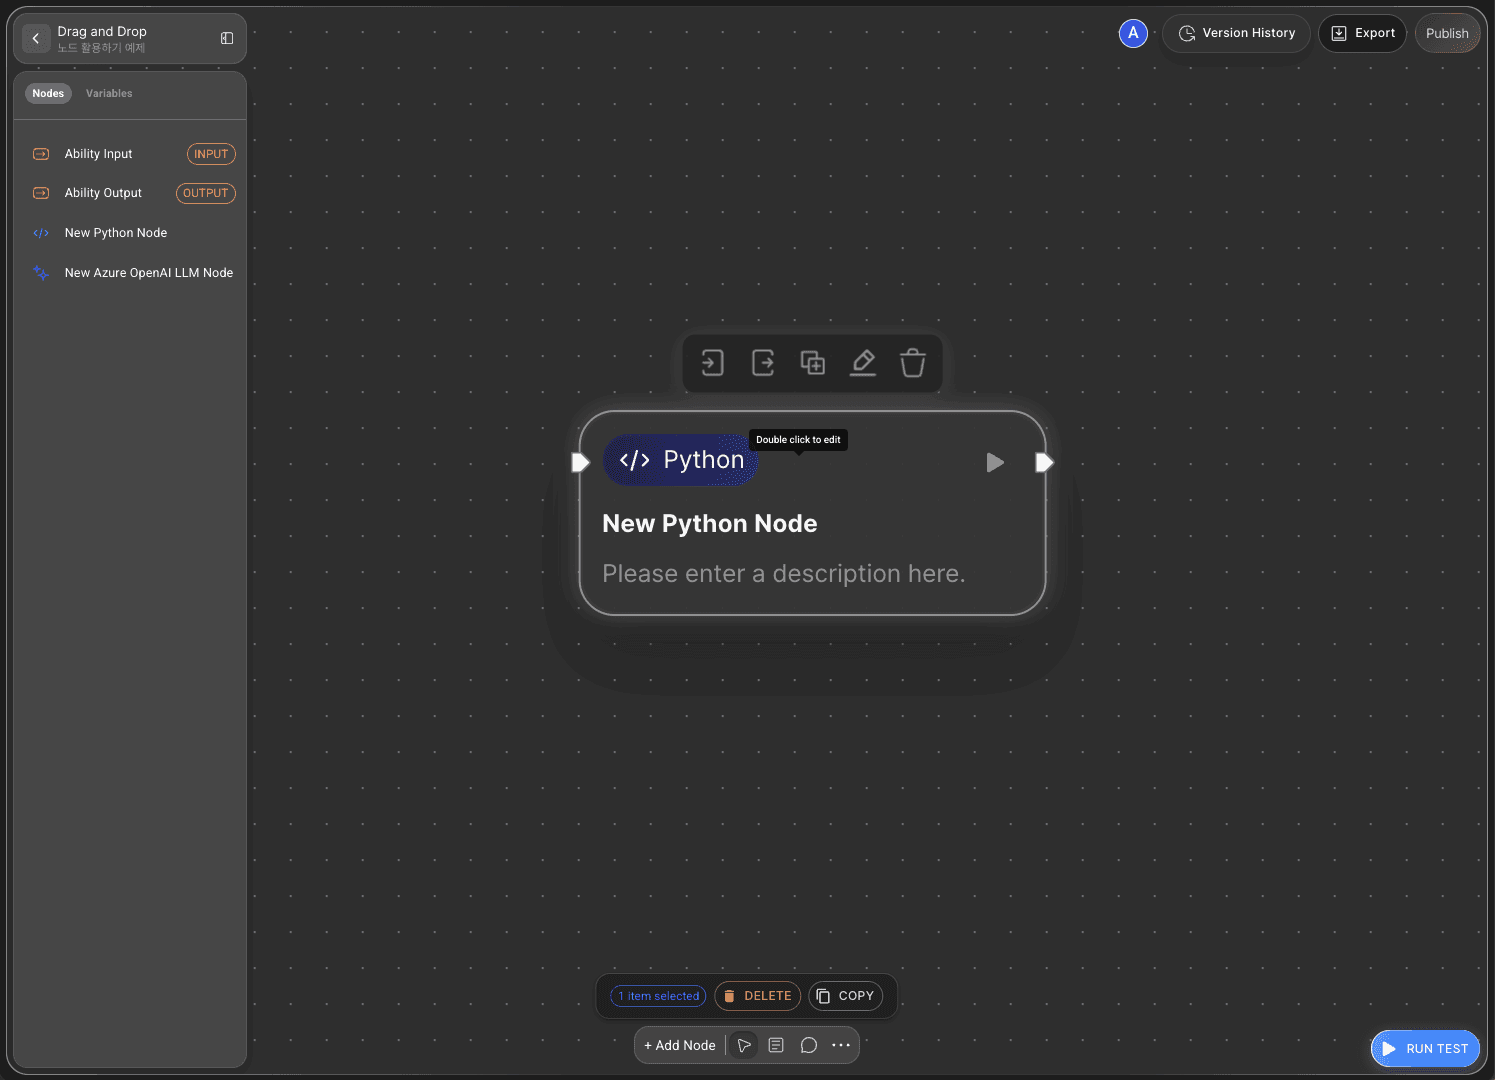
Hovering over a node displays the edit options menu.
Duplicate icon : Duplicates the selected node.
Edit icon : Modifies the node's name and description.
Delete icon : Deletes the node. Deleted nodes cannot be recovered.
Selecting multiple nodes with a drag box allows you to duplicate or delete them all at once.
The
Start nodeandEnd nodecannot be deleted.
2) Node Editor
You can open the built-in editor for each node to configure detailed behaviors such as variables, code, and prompts.
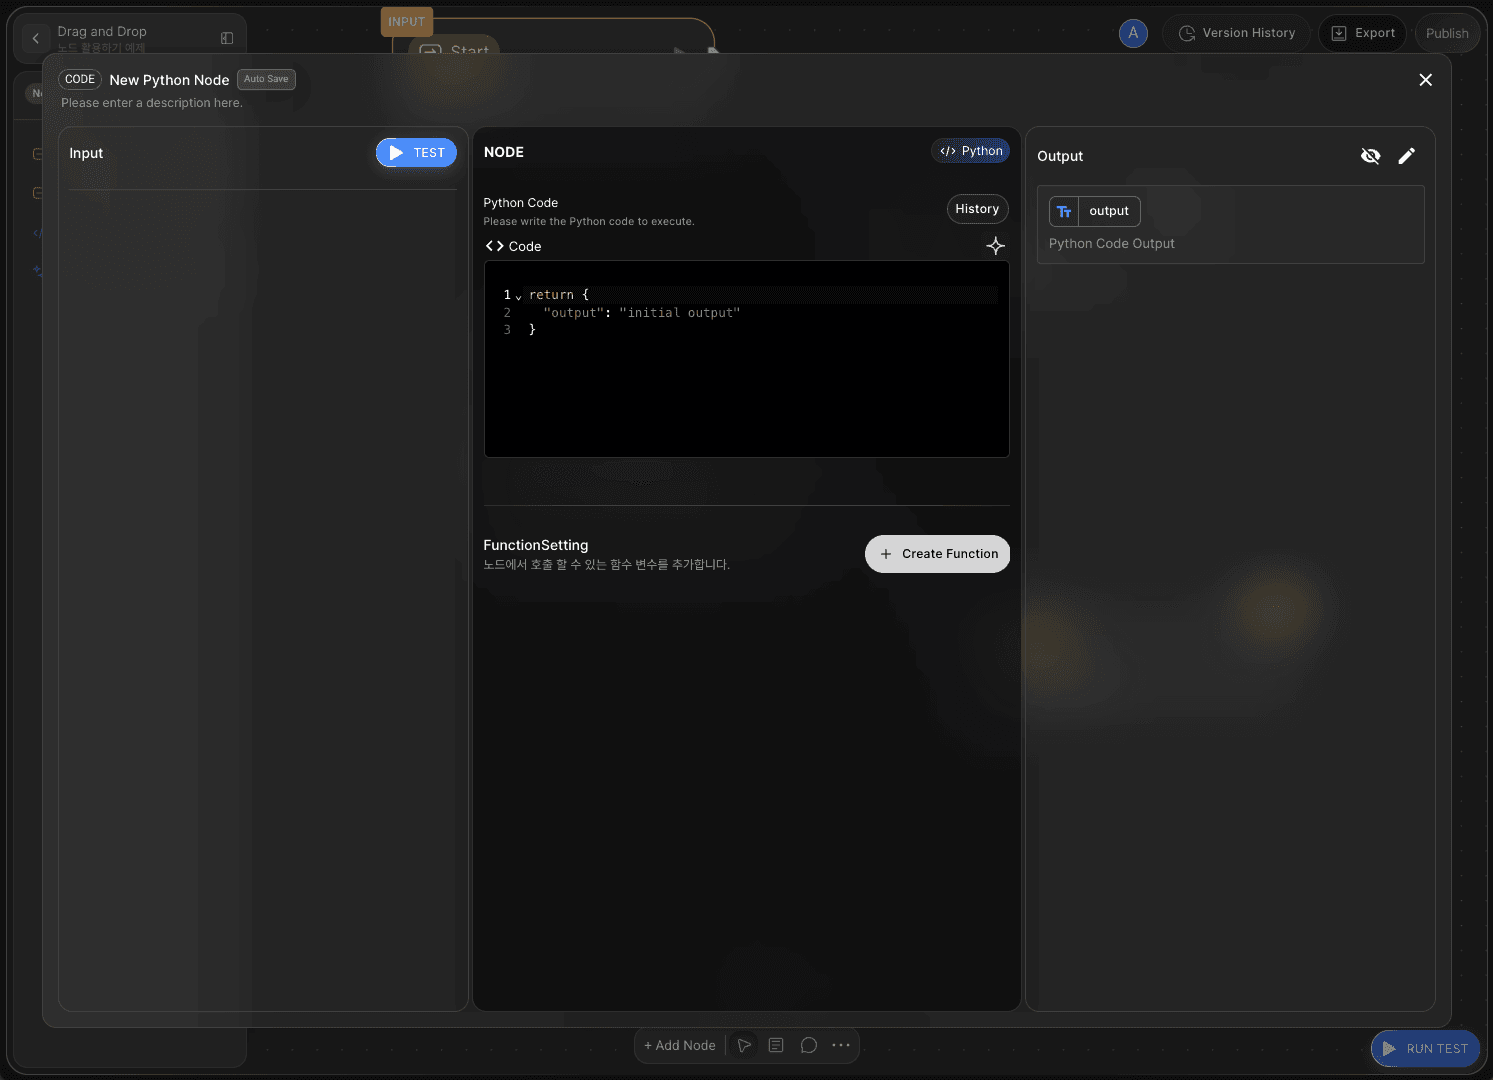
Double-click a node to open its editor.
The Node Editor layout and options vary depending on the type of node.
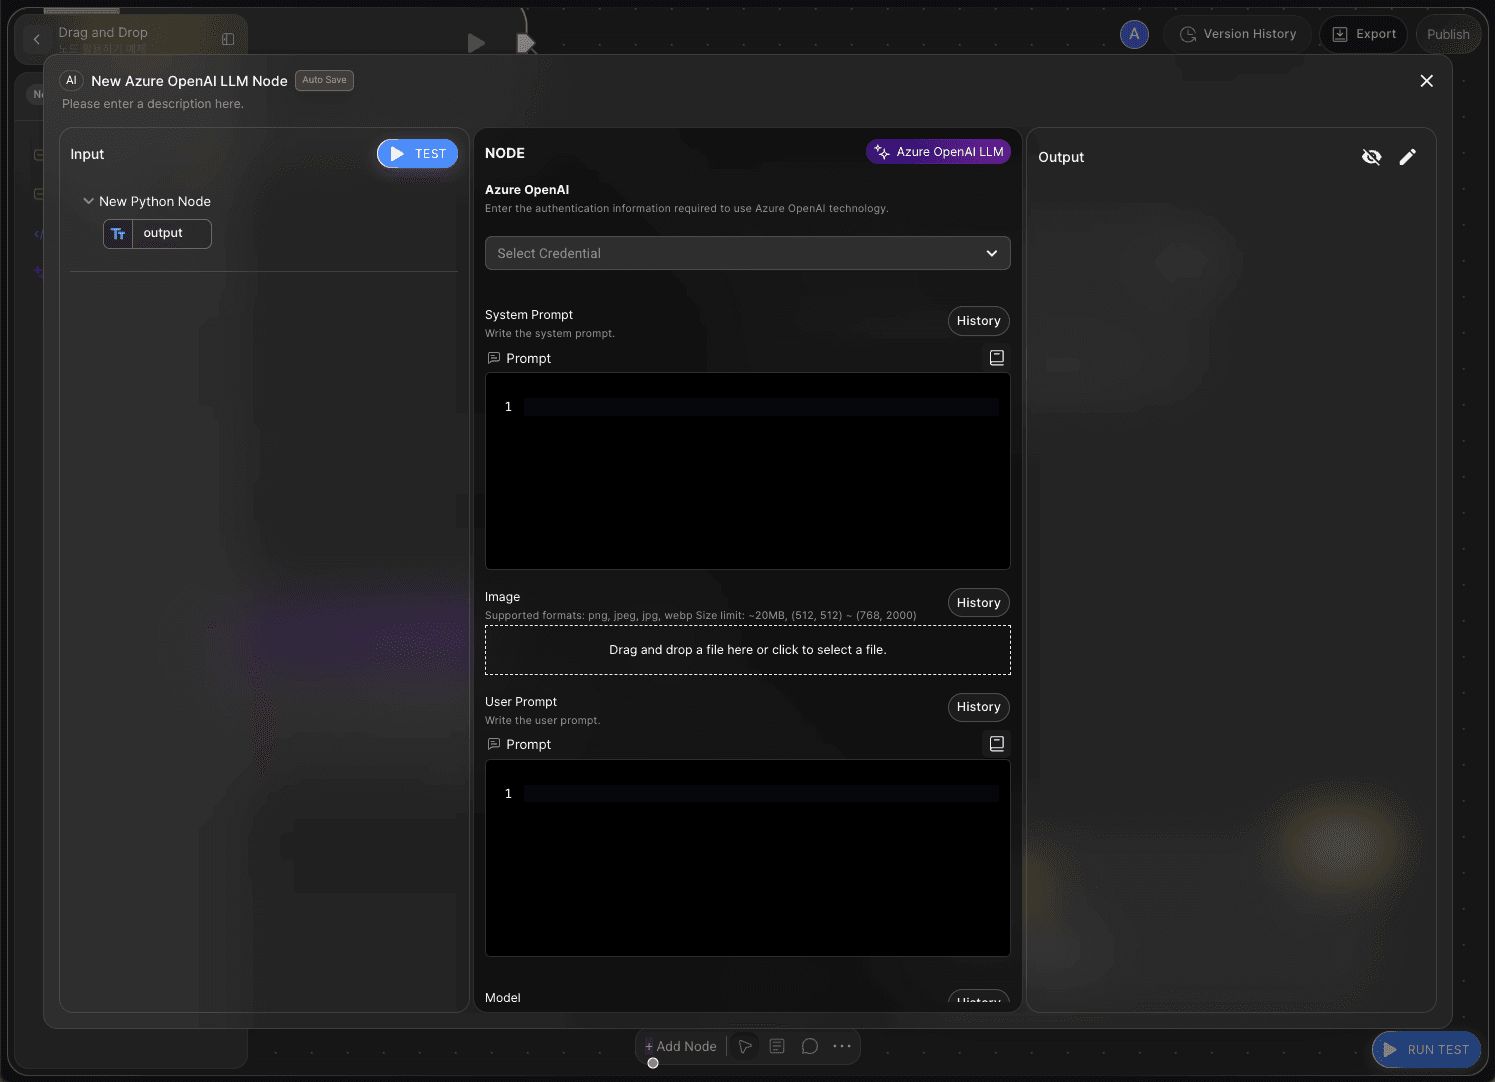
Most nodes are organized into three main sections: Input / Edit / Output.
Input: View the data coming from external sources or preceding nodes via the
In-Pin.Edit: Define the core function of the node here. You can set variables, code, and prompts.
Output: Deliver the processed results to the next node or system via the
Out-Pin.
Running Nodes
You can run individual nodes using the TEST button in the node editor to verify that they are working correctly.
This allows you to test variables, code, and prompts, review the results, and minimize errors.

After testing a single node, if you want to confirm that the entire workflow works as intended, click the
RUN TESTbutton at the bottom-right corner of the canvas to execute the whole flow.For detailed instructions, see the 🔗Node Test page.