Development Guide
Agentria workflows always start with nodes.
A node is the basic execution unit that takes user input, performs a specific function, and outputs the result.
To build and use abilities or agents effectively, it’s essential to understand how to work with nodes.
On this page, you’ll learn the full process of adding → configuring → connecting → testing nodes.
Agentria provides an intuitive drag-and-drop interface, so even beginners can easily add and connect nodes.
Adding Nodes
Click the Add Node button at the bottom of the canvas to open the sidebar.

From the sidebar, select the type of node you want.
Examples: Python, LLM, PDF Text Reader, Tools, etc.
Drag and drop the selected node onto the canvas where you want it to be placed.
Configuring Nodes
Every workflow must include exactly one INPUT node and one OUTPUT node.
INPUT: the entry point that receives user data
OUTPUT: The endpoint that returns the final result
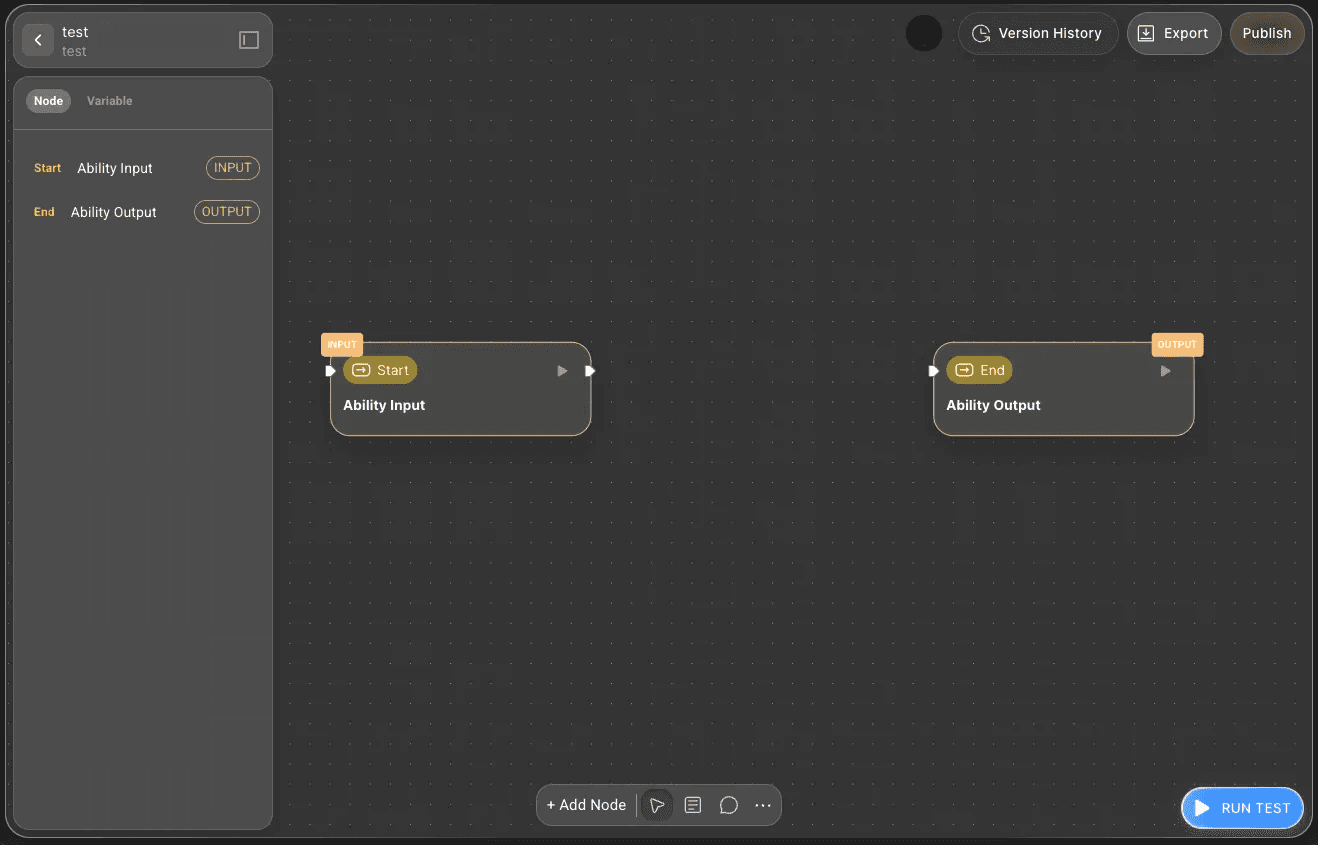
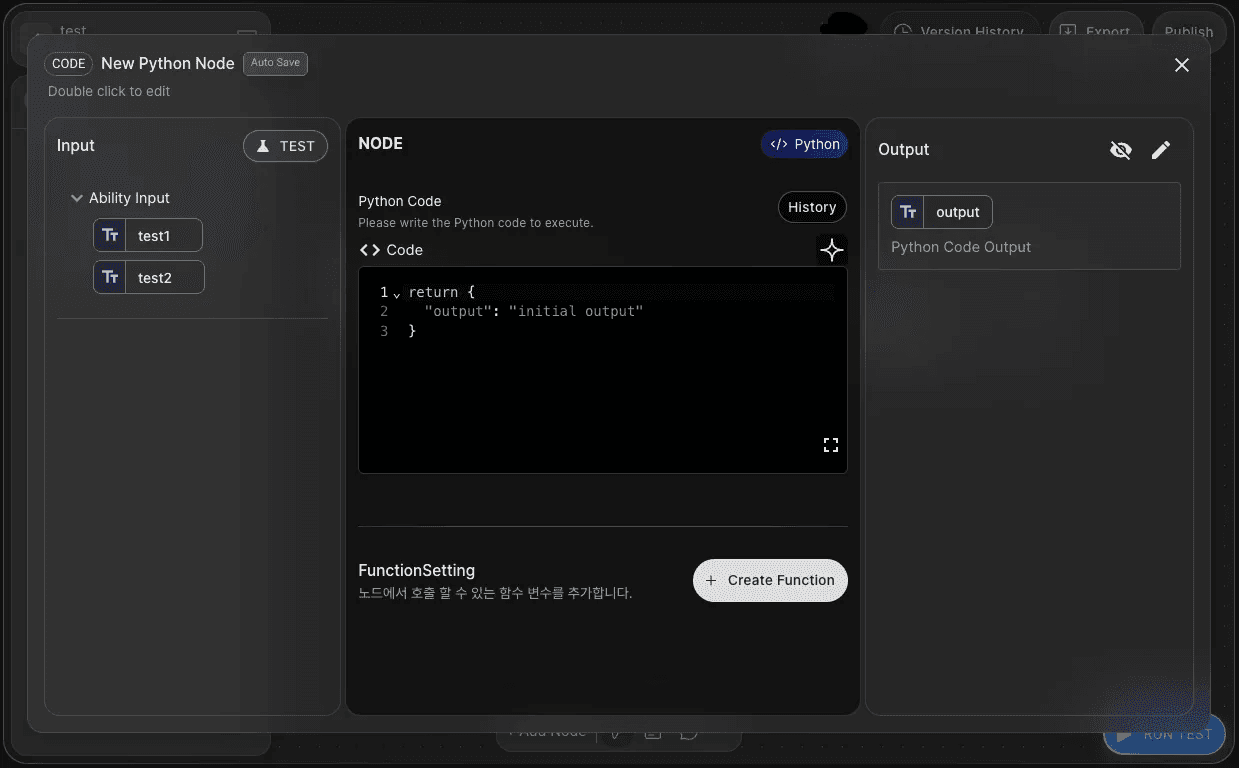
Double-click a node to edit its input/output variables or code.
Use the <> Code field to write custom logic directly.
Use Functions to add conditional branching and extend workflows.
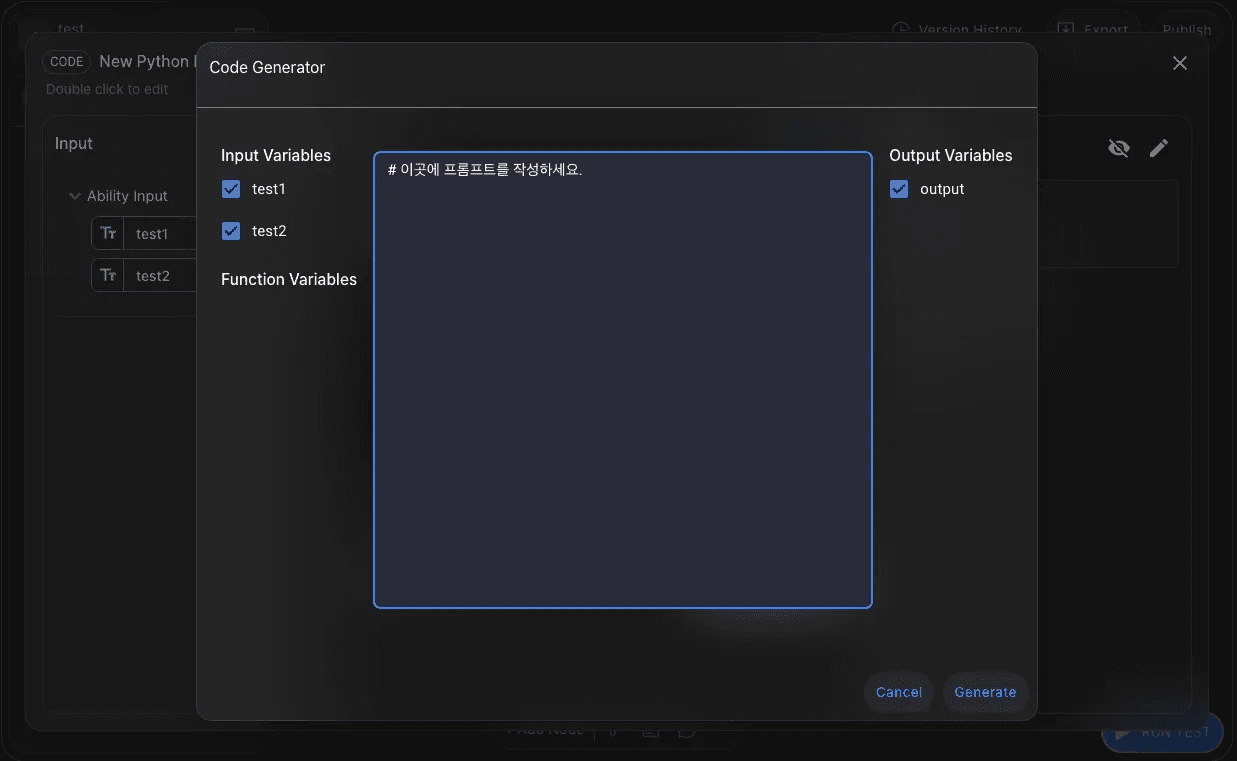
No coding skills? No problem.
Agentria offers a
✨ Code Generatorfeature to help you create code easily.
Use the TEST button within each node to verify its execution. If something doesn’t work, update the node and retest immediately.
Connecting Node
Nodes placed on the canvas can be connected with edges.
Simply click a starting point and drag to another node to create a connection.
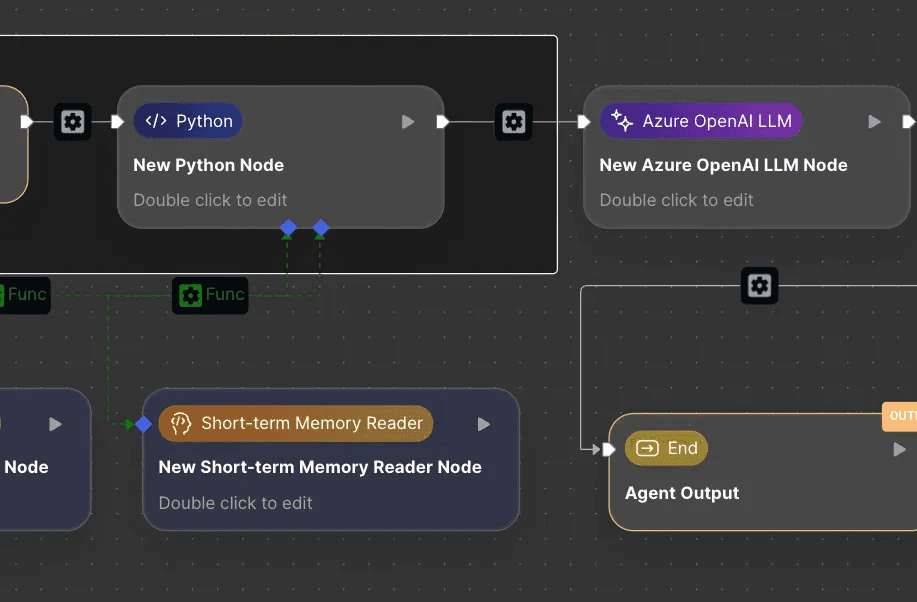
Connections define the flow of data between nodes and complete the workflow.
All connections must follow the order INPUT → intermediate nodes → OUTPUT for the workflow to function properly.
Testing
Once your workflow is ready, click RUN TEST at the bottom-right corner of the canvas.
Provide input data to the INPUT node. The data will flow through connected nodes until it reaches the OUTPUT node.
Review the test results to ensure data passes correctly between nodes and that code or prompts work as intended.
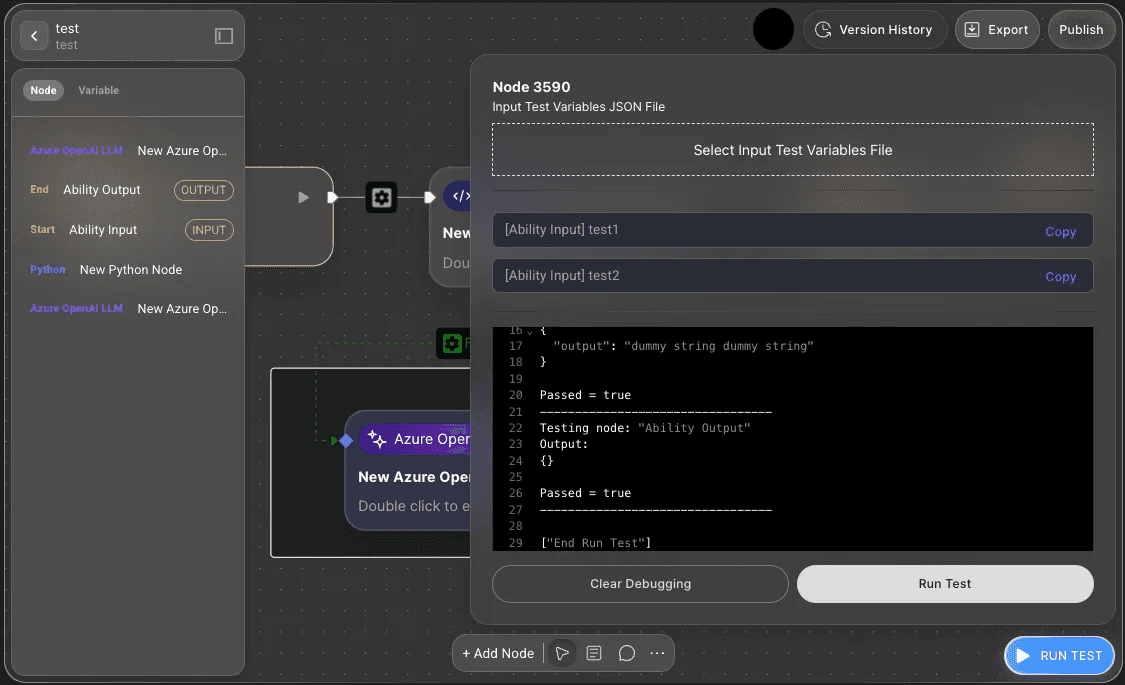
If issues arise, adjust the nodes and test again, improving the workflow step by step.